Friday, May 20, 2011

Life's a BEACH!

We are in the midst of finishing off several patios in time for the Memorial Day holiday so I thought this would be a good time to share details about the proper way to install polymeric sand, one of the last steps of installing a patio correctly.

I once had a client who created a tropical oasis in her basement, complete with a thatched tiki bar, fake palm trees…and sand, yes – bags and bags of sand! We are always relating indoor features to the outdoors, but aside from her, I can’t imagine many people would want to cover their floor with sand. Why, then, were our crews out on a nice sunny day covering a newly constructed patio with it?


Sweeping sand into the joints between pavers is the final step in constructing a patio. The sand provides stability, prevents the pavers from shifting, inhibits weed growth and insects. It is typically applied to newly constructed patios with a follow-up application the following year and then topped off only whenever the level drops below the surface of the patio. Too much sand can be messy and problematic.


The sand we typically use is a special blend known as polymeric sand, which contains a silicon based adhesive that binds the grains together, offering better protection. It is recommended in ICPI (Interlocking Concrete Pavement Institute)  guidelines and offered by most contractors but there is a process that must be closely followed and done correctly for proper results and to prevent damage. We are very particular about the brand of product we use and the steps we follow.


Sanding the patio has to be done on a very dry day and not until the morning dew has dried from the surface to prevent the sand from sticking where it isn’t wanted. The sand is dumped onto the patio and swept around to fill in the joints. Once the joints appear filled, a plate compactor is run over the surface. This heavy piece of equipment vibrates, settling sand deep into the joint. A second application is made, compacted again and then the excess material is blown off the patio. Once the surface is entirely free of excess sand, the entire patio is gently misted with water in order to slowly and evenly dampen the sand in the joints, activating the silicon gel. After twenty four hours the material is cured and the patio can be used.


Poor quality product or failure to follow these steps can result in stains on the pavers and improper curing of the sand such as we saw on a recent project installed by another contractor that we were asked to re-do for the client. This project was plagued with problems (and will probably be featured in a future post) but what bothered the homeowner most was the excessive amounts of sand held together in a rubbery mass that crumbled and tracked around the patio, getting into the house and pool.


Don’t let poorly done sanding details ruin your patio, carefully follow product directions or hire a knowledgeable professional to ensure that time spent on your patio will be better than a day on the sandy beach!

Tuesday, May 17, 2011

Phased Installation - Getting it all, just not all at once!


We came across this great article on an industry website and thought it did a great job of explaining the process of phasing an installation. There are many reasons to install a project in phases, while budget is often the most common, it can also be helpful when the home is new and the owners haven't yet spent enough time in it to know how they will use the space; what their favorite places will be, how often neighbors will come over and what spot in the yard puddles up each time it rains. Information on the author and a link to the original article can be found at the botton of the post.

Can I build my landscape in stages as money becomes available?

A Three Step Pay-as-you-go Approach to Landscaping

By Maureen Gilmer, landscape designer, author and LandscapingNetwork.com columnis
If you will be building the job one element at a time as finances allow, it's called a phased installation. Let your designer know so she can plan the project with phasing in mind. Here are the first three stages of phasing that set the foundation for everything else.
1. Design the whole project.Whether your build it all now or spread installation over many years, always design your entire project up front. You will save the cost of a designer many times over in a more efficiently installed project. This design includes a site plan that makes sure everything you want in the yard fits together like a jigsaw puzzle. It also becomes the roadmap for how every connection will be made above and below ground. If the project is installed in phases, it becomes the single document that tells each contractor what the others will be doing today or years down the road.
Another benefit of early planning is utilization of contractors to your fullest advantage. If the pool contractor is the first one on the job, he can look at your plan and know that when laying the electrical conduit to the pool filter, there will be points along the way that are to connect to other electric needs in the landscape. At these points he will stub out junction boxes that will later connect power to your outdoor refrigerator or gazebo ceiling fan. This ensures the next contractor need not take the extra time and money to cut into the conduit. He just connects the new lines to the stub outs. This same scenario can apply to water and gas lines as they are linked to sprinkler systems or a future fire pit.
2. Install surfacing for instant usability.Everyone wants to use their yard immediately whether it's completed or not. Double that if children are involved. The most essential goal of the new landscape is to make surfacing Phase I. This goes a long way toward usable spaces that keep the house clean in all seasons. Begin this phase by getting all the bare ground covered in one way or another.
There are three ways to accomplish surfacing as the first phase of your long term project.
A. Patio and connections.
Budget to have your patio poured or laid in this first phase. Be sure to have any hardware included in the pavement that might support a future structure. Provide sleeving throughout the patio and beneath connecting walkways for sprinklers and wiring.
Tip: If your patio will be covered with expensive stone or tile, you can cut costs in
Phase I by pouring just the concrete slab. Be sure elevations are set to accommodate
the thickness of the topping material later on.
B. Lawn.
For some yards, turf grass is the largest single surface. For a family it's for play and pets, but in other scenarios it's simply to cover bare ground with a clean, attractive sward. Lawn can also be vital for erosion control on sloping sites. Before sodding or seeding a lawn, there may be grading as well as an underground irrigation system.
C. Other.
Sometimes there remain spots in the yard or site that do not fall under paving or lawn, yet they must be covered for practical reasons. Contractors like to use ground fir bark or gravel in these locations as both can be walked upon. They can also be moved from that location later on if further improvements are made.
3. Plant Trees for a head start on shade.Trees take many years to grow large enough to cast the shade we desire. They also must mature before they can protect the landscape around them. This is why it's vital to get trees in the ground as part of Phase I.
The completed design package will include a Planting Plan that shows where every tree will be located and what species it should be. This is a scaled drawing that can be measured to find these exact locations whether things are built or not. Before planting it's important that the grades at the tree locations are final. You may also want to have part or all of the sprinkler system installed to ensure even water applications. Otherwise plan to hand water them frequently during the dry season.
Definitions:
Stub-out: This term applies to future gas or electrical lines in the landscape. They are installed in one phase
of the project in preparation for the next phase. An electrical line might include a junction box for a future
lateral line. A water or gas line might include a 'T' fitting that's capped off. That way the next contractor need
not cut into the previous contractor's line.
Sleeving: A sleeve is simply an empty pipe laid underneath a walkway, mow strip or patio to allow water
and electrical lines to be installed later on. When the project is designed all at once, the location of sleeves
will be shown on the plan. Through the empty sleeves the contractors will thread electrical conduit, low
 voltage lighting wires, sprinkler lines and water lines.
Phasing: The word phase is similar to a stage of the installation process. Though all would prefer to build
 the project at one time, finances may not allow it. Phasing a landscape is a strategy for getting it built in
stages, timed when the owner can afford each new improvement.
Maureen "Mo" Gilmer is a landscape designer, author, and speaker about horticulture topics and landscape design.
The original source for this article can be found at: http://www.landscapingnetwork.com/landscape-design/phased-installation.html

Wednesday, May 11, 2011

Travertine, A Classic Beauty

Outdoor rooms, outdoor furniture and outdoor kitchens have all become common terms in landscaping, but another familiar indoor material is also ideal for outdoor use. The same Travertine stone seen in beautiful kitchens and baths is a versatile product with a proven history of durability outdoors.


Travertine, sometimes called Travertine Limestone or Travertine Marble, is not truly either. It is a type of limestone that formed near mineral rich hot springs, it is a younger form of marble that is more closely related to the stalactites found in caves.

Bubbles rising through the water as the stone forms give Travertine its characteristically pitted surface, while mineral impurities create the unique veins of color. These earth tone colors may vary from pale ivory and cream to walnut and gold. No two pieces are alike!

A Proven History of Strength

Despite its elegant appearance, Travertine is a surprisingly durable material. The Coliseum in Rome is clad in Travertine, which is thought to have been quarried in nearby Tivoli, Italy. Travertine derives its name from Tivoli, formerly known as Tibur, where it was originally known as “Tibur stone”.

It is more widely available than marble, making Travertine one of the most frequently used building materials in modern architecture too. It is used to clad some of the most famous buildings in New York City and Washington, DC. Unlike manmade products it can withstand decades, even centuries, of weather without deteriorating. In fact, its color even improves with age.

Travertine has been tested to ASTM-C1026 standards, being subjected to 15-year cycles of freezing temperatures. It does not expand and contract drastically in these conditions, making it extremely durable.

It has twice the strength of concrete and 3cm pavers are even suitable for driveways, having been rated to 5000 PSI, Pounds per Square Inch. Unlike concrete and other manmade products, Travertine does not effloresce, a process where minerals leach out and leave the surface of a material with a hazy white appearance.

Functional Benefits

Travertine is available in honed, polished and tumbled finishes. The pitted surface can be filled in with epoxy or left in its natural state for a warm, aged look that will develop a beautiful patina.


It requires little or no maintenance. Travertine is a porous calcium material and may stain. Sealing the stone can prevent stains and will bring out the color. If used in a dry laid application though, with no filler or sealant, the rain will flush out any stains to the porous stone.

Its porous character makes Travertine a natural insulator too, keeping it cool even in full sun and giving it a non-slip surface. These qualities make it an ideal surface for patios and pool areas. In fact, because it absorbs water, its traction even increases when wet.

Versatile Options

Travertine is not only available in a variety of colors and finishes but also a range of products. Thinly cut tiles are suitable for mortared applications including counter-tops and back splashes, while thicker pavers are preferred for a dry-laid application.

Using squares of the same size will result in an elegant tile effect. For added interest, mixed sized stones can be laid in a pattern. Circle kits and even mosaics can be used to create unique effects and personalize a space.

Travertine is not limited to flooring though. It can be carved into columns, with detailed capitol and base, which can be used to support a shady pergola or dress up the façade of a home. Turned balustrades and railing add a grand effect to steps, where Travertine treads can also be used.

 Wall caps, pool coping and fireplace mantles with carved edges are available. Even fountains and statues can be created with this versatile material. The selection of colors and products available make Travertine suited to many styles of architecture and décor.

If you are searching for something different to add a unique and elegant look to your outdoor living space, consider the enduring and classic beauty of Travertine. 

Friday, May 6, 2011

Take it Outside

Take it outside 
(Published in Suburban Life Magazine May 2011)

Warm spring weather can certainly put you in a mood to celebrate, but spring cleaning is such a chore. This year make entertaining simple by telling your guests to “Get Out” – outdoors that is! Though you don’t have to clean the house to host great outdoor parties there are still a few things you want to consider before you host your next event outdoors.

By Sharon A. Shaw

Just like a home, the landscape will look better after a little spring cleaning. Heavy winter snow, ice and wind, as we experienced this year, can damage trees and shrubs. Pruning removes these broken branches while improving the shape and controlling the size of the plant. Debris such as leaves twigs and the remains of last years’ flowers should be removed from the garden and a fresh layer of mulch applied. Mulch not only looks great, it also helps to discourage weed growth, retains moisture and may improve soil over time.

Growing plants need proper nutrition to produce lush foliage and colorful blooms. Plants will benefit from regular mulching and fertilization, but what many people don’t realize is that too much of a good thing can be harmful. Beds only require 2-3 inches of mulch total, not that amount re-applied each season. Mulch build-up can smother perennials, allow pest and disease to damage trees and deplete soil nutrients, while over fertilization can damage tender roots and buds.  Organic fertilizers are also a good option since they offer gentler feeding through natural ingredients. Either way, it is important to employ a knowledgable professional or read package directions carefully.

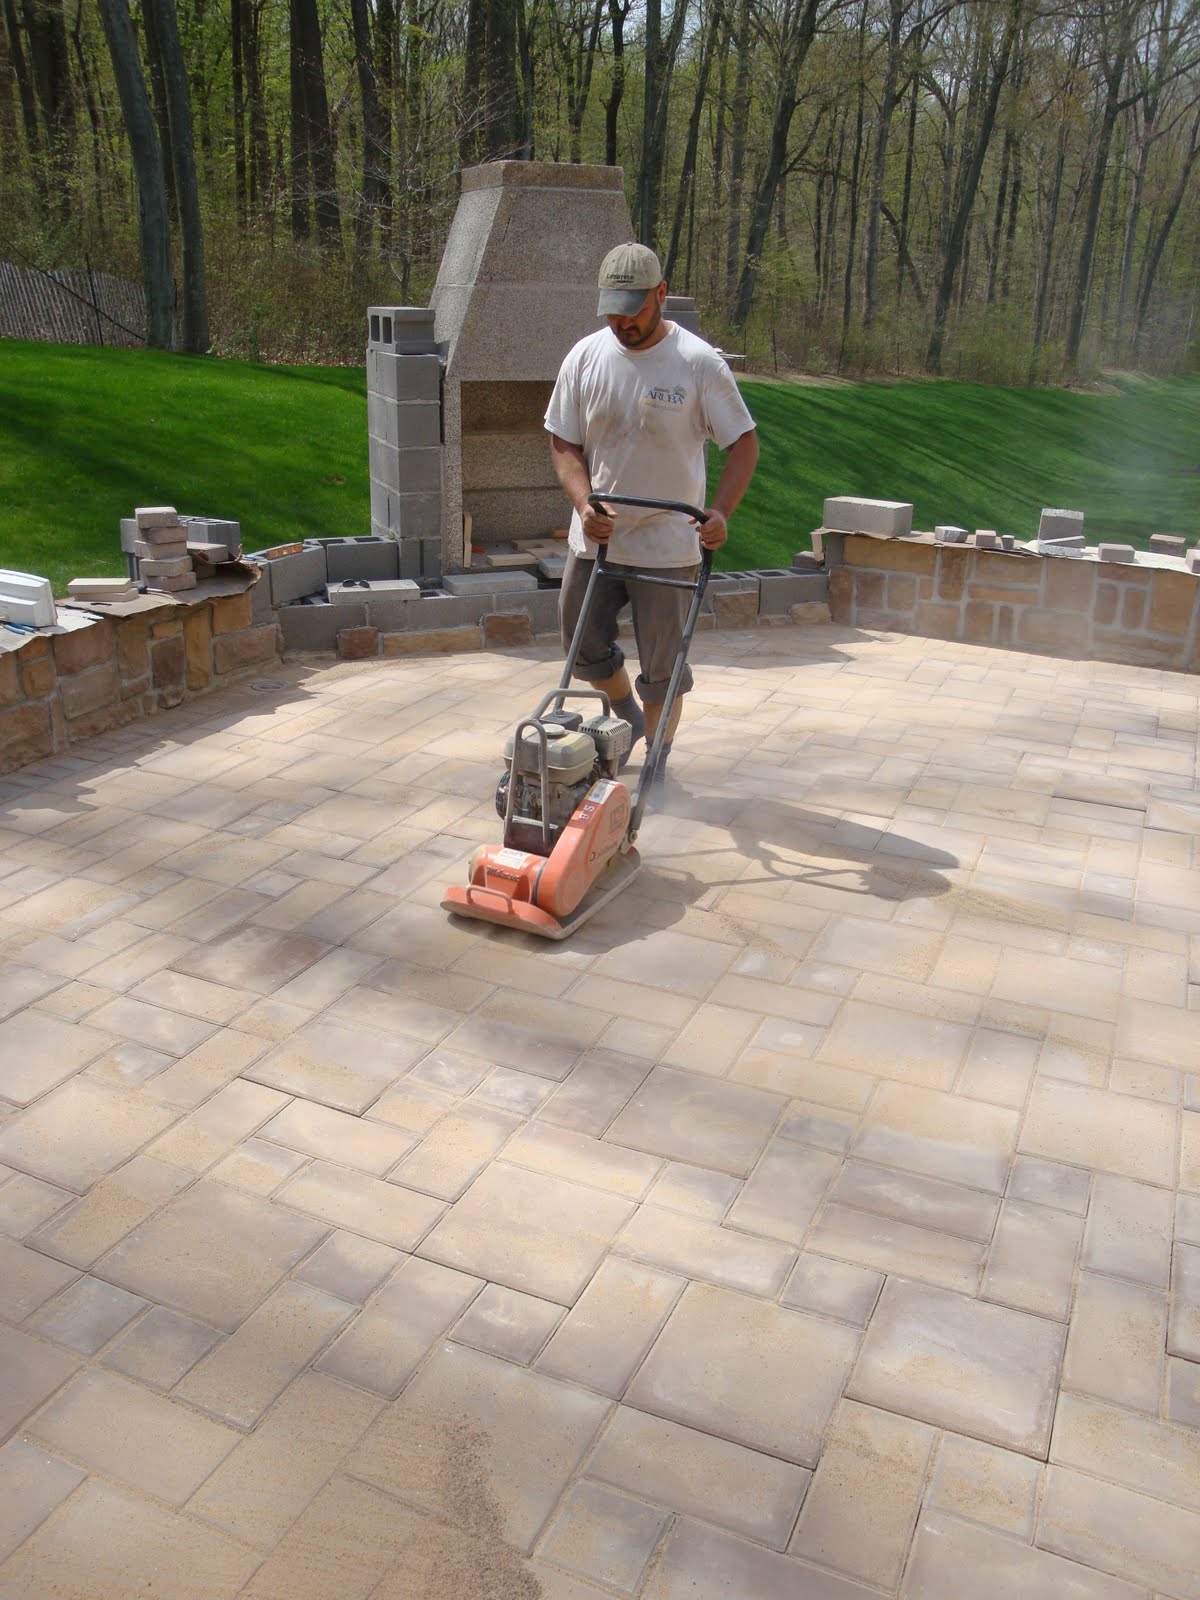
Patios and walkways may also need spring maintenance. A fresh application of sand will stabilize the joints between stones and discourage weed growth there. Cleaning and sealing is also available to brighten and protect pavers. It is important to inspect these hardscape areas for damaged and loose stones before outdoor entertaining begins. During this inspection, check landscape lighting systems for damaged fixtures and dead light bulbs. It is not just a matter of beauty and safety, each dead bulb actually increases the stress on the system and reduces the lifespan of the remaining bulbs. Inspect your patio furniture and accessories for damage while you clean them for use.

With the basic tasks complete, it is time to design and decorate. When designing a space for outdoor entertaining there are a few things to consider. A landscape designer can help you make these decisions when constructing a new patio. When working with an existing yard though, you may need to rely on other professionals to help make the most of what you have got.

How often you entertain may determine if accessories, such as the patio, grill and shade structures should be permanent fixtures in the landscape or if temporary means can be used for events. A homeowner that has frequent dinner parties will benefit from an outdoor kitchen with plumbing and electric, while a family who hosts a once-a-year reunion may prefer a large lawn area to accommodate a rented tent instead of an oversized patio. While formal parties require patio spaces that accommodate high-heeled shoes and keep elegant clothes clean, casual events, such as kids parties, can often suffice with plenty of lawn space for play. Don’t overlook adequate parking and appropriate access to the backyard.

Gardens play an important role in entertaining. Well designed plantings can create privacy, add décor and fill the table. A vegetable garden is like a farmers market in your backyard, where you can grow your favorite hard to find varieties. Herbs provide a flavorful ingredient or garnish while even a casual bouquet of flowers cut from the garden will bring color to the table. Annuals are easy to add to gardens and pots for last minute improvement. Berries, branches and evergreen foliage are useful for creating centerpieces year-round. Of course, area florists can always create stunning arrangements instead.

Even the smallest of plants, the lawn, can play an important role in outdoor entertaining. In addition to providing room for a tent, the lawn can be designed to accommodate a variety of outdoor activities including games, sports and play structures so it is important to keep it looking its best with proper maintenance and watering.

The number of guests you plan to host will determine the size of the space needed, as well as the furniture requirements. Before planning a new entertaining area, a homeowner should know the quantity, size and function of furniture they would like to include. A landscape designer can use this information to create an appropriately sized area for everyday living and occasional entertaining. Dining tables, chaise lounges and other seating groups require additional space for guests to be able to walk past. A landscape or interior designer can help arrange furniture to maximize the function of an existing area. Additional seats can be rented or improvised by making use of sitting walls and steps.

Furniture is a great way to set the tone for your entertaining style. Intimate seating groups and bar style seating are perfect for cocktail parties while a large dining table and buffet may be more appropriate for family events. Furniture styles which require cushions offer an additional opportunity to decorate for the event. Outdoor fabrics are available in an endless selection of colors, prints and textures. Select fabrics which compliment the season whether it is a floral pastel for a spring-time luncheon or red-hot stripes for a summer time pool party. Choosing complimentary colored outdoor candles, dishes and linens can really help to pull the decor together.

The potential for accessorizing outdoor rooms is limited only by the imagination. If you entertain year-round or during the cooler seasons consider including heaters or a fireplace that can create warmth and ambiance. Events held during summer days should provide relief from the sun. Umbrella can be moved to accommodate the suns changing direction. Permanent elements like a large shade tree or pergola add year-round beauty to the landscape, while a covered porch or gazebo will also offer limited protection from inclement weather. Evening parties require lighting for function, safety and beauty.

Delicious food and drink are essential to any celebration. Catering can simplify the preparation a host is required to do by providing prepared foods, table settings, servers and clean-up. If you prefer to do the cooking though, an outdoor kitchen permits the host to be with their guests while preparing it. Built-in grills can be connected to a supply line so that the fuel never runs out. Amenities such as an outdoor refrigerator and warming drawer allow items to be made in advance of the event and kept at the right temperature until being served. Adequate counter space, a sink, integrated storage and trash receptacles keep the tools for preparation and clean-up close at hand. Counter top space can also be utilized for buffet service or bar-style seating. Other helpful bar accessories include a built-in icemaker, cocktail station and electrical outlets, useful for operating blenders and musical devices.

As you plan to host events this year, consider creating a place for outdoor entertaining and tell your guests to “Take it Outside”! They will thank you for it. 

Sunday, May 1, 2011

Breaking the Rules

We all have our personal rules about what materials are suitable together. Just wanted to share a photo and comment recently seen on facebook. This is from Susan Cohen who operates the blog "Miss Rumphius' Rules" (a great kids book by the way!) She posted this photo of beautiful workmanship with the following comment: 


"Great design is often about editing. It is IMO the hardest skill to master...deciding what not to put in no matter how wonderful or beautiful it might be. Here's an example of a well intended grouping of stone and brick that could use some editing...3 types of stone and 2 types of brick in a very, very small area."  - Susan Cohen Gardens, LLC

We all have our personal rules about what materials are suitable together. As our designer, Sharon often suggests mixing a man-made material (brick) with a natural material (bluestone) or two natural materials (bluestone and stacked stone) but never two man-made materials (brick and concrete pavers) Of course one always has to be considerate when mixing colors, too. In this photo, for example, the red brick path and pink brick edge clearly clash.

What do you think? Do you like the combinations shown here, or do you understand why Susan has suggested the designer should have edited the material selection more carefully?